Menu

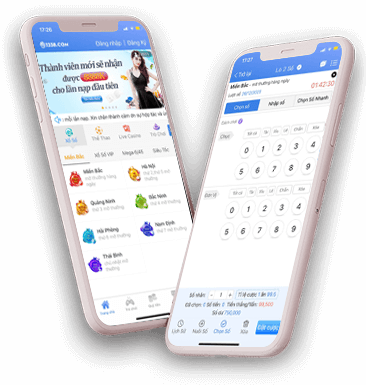
TRÒ CHƠI XỔ SỐ
Tập trung vào ngành công nghiệp trò chơi xổ số trong nhiều năm, với màu sắc và cách chơi cổ điển. Ngoài ra còn có rất nhiều trò chơi độc quyền và sáng tạo, và giao diện trò chơi đủ mới lạ và dễ vận hành, điều này sẽ tạo thêm vẻ bóng bẩy cho quá trình chơi game của bạn!
Link vào website 123b Không Chặn Mới Nhất 2024
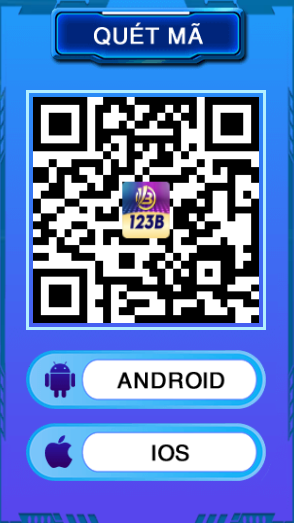
1、QUÉT MÃ QR BẰNG ĐIỆN THOẠI DI ĐỘNG CỦA BẠN, NHẬP TRANG TẢI XUỐNG APP VÀ NHẤP ĐỂ TẢI XUỐNG。
2、VUI LÒNG LÀM THEO HƯỚNG DẪN TRÊN TRANG NÀY ĐỂ CÀI ĐẶT VÀ ỦY QUYỀN APP。